A leaky gas tank is not something to be trifled with, and needs immediate attention. It’s not a car problem you can put off. Why? Because aside from the money lost in wasted gas – it can also be deadly, resulting in an explosion.
Okay, it’s leaking, what do I do now?
You can take it to a shop (a.k.a empty your wallet), or you can do it yourself. And, frankly, if you’re here reading this blog – you’re not a “take it to the shop” kind of driver.
The DIY method is relatively simple – and AET can help – but you do need to be careful.
First, of course, jack up your car and find the exact spot where the leak is.
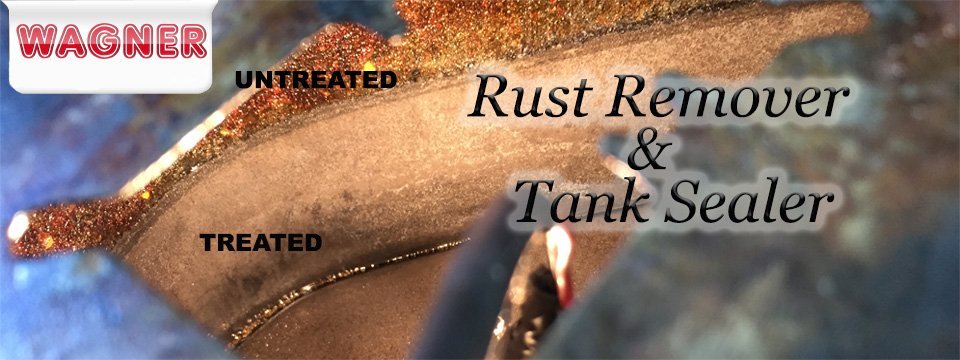
If it’s a small hole – apply two to three layers of our WAGNER Tank Sealing Resin from the outside.
If it’s a larger leak – you need to sand down the holes, and then treat the leak with our rust converter. From there, cut a piece of fiberglass to put over the leak, and glue it to the tank with the same tank sealing resin mentioned above. Check back in a few hours, if the resin dried, add another layer. Continue process as necessary.
Preventative measures
For the standard driver, fuel tank leaks are more out of the ordinary than not. But for those who use their whip outside the standard commuting purposes – there’s more room for error in the wear and tear department.
So if you want to beat the problem to the punch – internally seal your tank.
Here’s how to do that.
First, make sure your tank is completely dry. Our tank sealing resin hardens in moist conditions, so you want to make sure excess resin doesn’t get into contact with any moisture and stiffen up in unwanted places.
Make sure all your tank openings are completely closed. This also accounts for the filling opening after you pour the tank resin inside.
- If resin emerges somewhere outside your tank, you can eliminate it immediately with acetone or PU thinner. Note: those chemicals may damage the surface you’re using them on (cosmetic).
You will want two layers of resin to ensure optimal sealing potential.
For the first layer, pour the necessary amount of resin into the tank and shake. Make sure it covers the entire interior. Slosh the substance around for 5-10 minutes. Remove any excess resin (when you do so, don’t pour it back into the original container, put it into a separate, sealable container). In most cases, a thick layer of resin will begin to form at the bottom of the tank. It is crucial to remove it before it thickens. If you let it sit – you will no longer be able to extract it, and your tank will be ruined. The semi-hardening process for the first layer should take about four hours. Turn the tank periodically to avoid excess buildup.
The inner coating should be dry to the touch in 12-24 hours. That’s when you’re ready for the second layer. Pour the rest of your resin from your original container into the tank, and slosh it around like you did with layer one.
- If you wait too long (more than 48 hours) to pour the second layer of resin in, the substance will not be able to bond with the first layer, and you will have to settle for a single-layered sealing.
Once the second layer is in, it’s time to let the resin fully harden. Keep your tank in an open, dry, well-ventilated room. The inner sealing should harden in 7-8 days.
A more detailed look at the process can be found here.